-
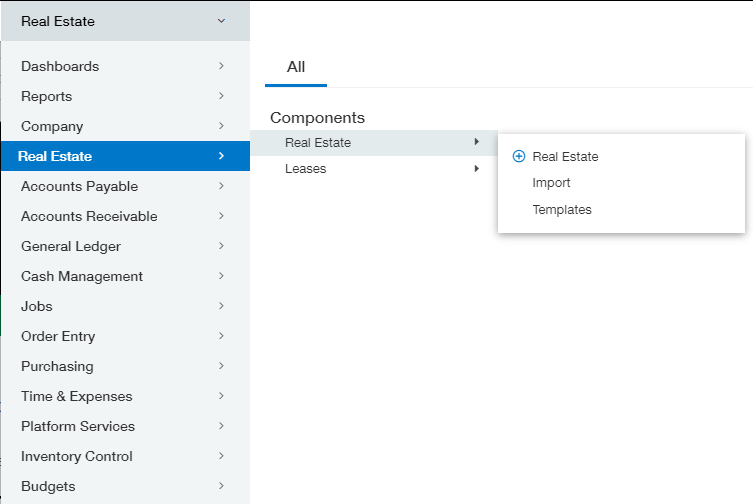
Navigate to the Real Estate Module
-
Applications – Real Estate – Real Estate – Real Estate
-
-
Navigate to Properties Screen
-
Main Menu – Setup – Units
-
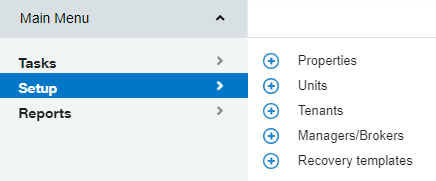
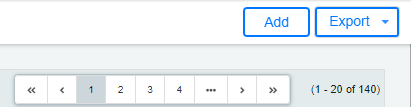
b. Click Add
-
Complete the General Tab
-
Basic Info Section
-
Select New Unit or From Intacct
-
For New Units
-
Property
-
Search for the Location the unit is associated with.
-
-
Unit ID
-
Enter a Unique ID for the Unit
-
All Unit IDs must be unique.
-
-
-
Unit Name
-
Enter a name for the Unit
-
-
-
-
-

-
For Units From Intacct
-
Property
-
Search for the Location the unit is associated with.
-
-
Unit ID
-
Enter a Unique ID for the Unit
-
All Unit IDs must be unique.
-
-
-
Units from Intacct
-
Select the Unit (Location) that already exists in Intacct.
-
-

-
Class/Address Section
-
Unit Class
-
Select the Appropriate Unit Type
-
-
Address Fields
-
Use these fields to store the mailing address of the unit.
-
-
Rent/Market Section
-
Market Rent
-
Enter the Market Rent of the Unit
-
Used for Vacancy Loss
-
-
-
Amenities
-
Rooms
-
Enter the number of Rooms in the Unit
-
-
Bedrooms
-
Enter the number of Bedrooms in the Unit
-
-
Bathrooms
-
Enter the number of Bathrooms in the Unit.
-
-
Checkboxes
-
Check all applicable boxes.
-
-
-
Status
-
Check applicable selection(s).
-
-
-
Square Footage Tab
-
Click “+ Add new”
-
All fields must be completed.
-
Square Footage Type
-
Select square footage type from drop-down menu.
-
-
Value
-
Enter the Square Footage value.
-
-
As of Date
-
Enter the As of Date for the Square Footage measurement.
-
-
-
Repeat as needed.
-
-
Attachments Tab
-
This tab is used to store attachments like floorplans and proof of insurance.
-
-
Click Save